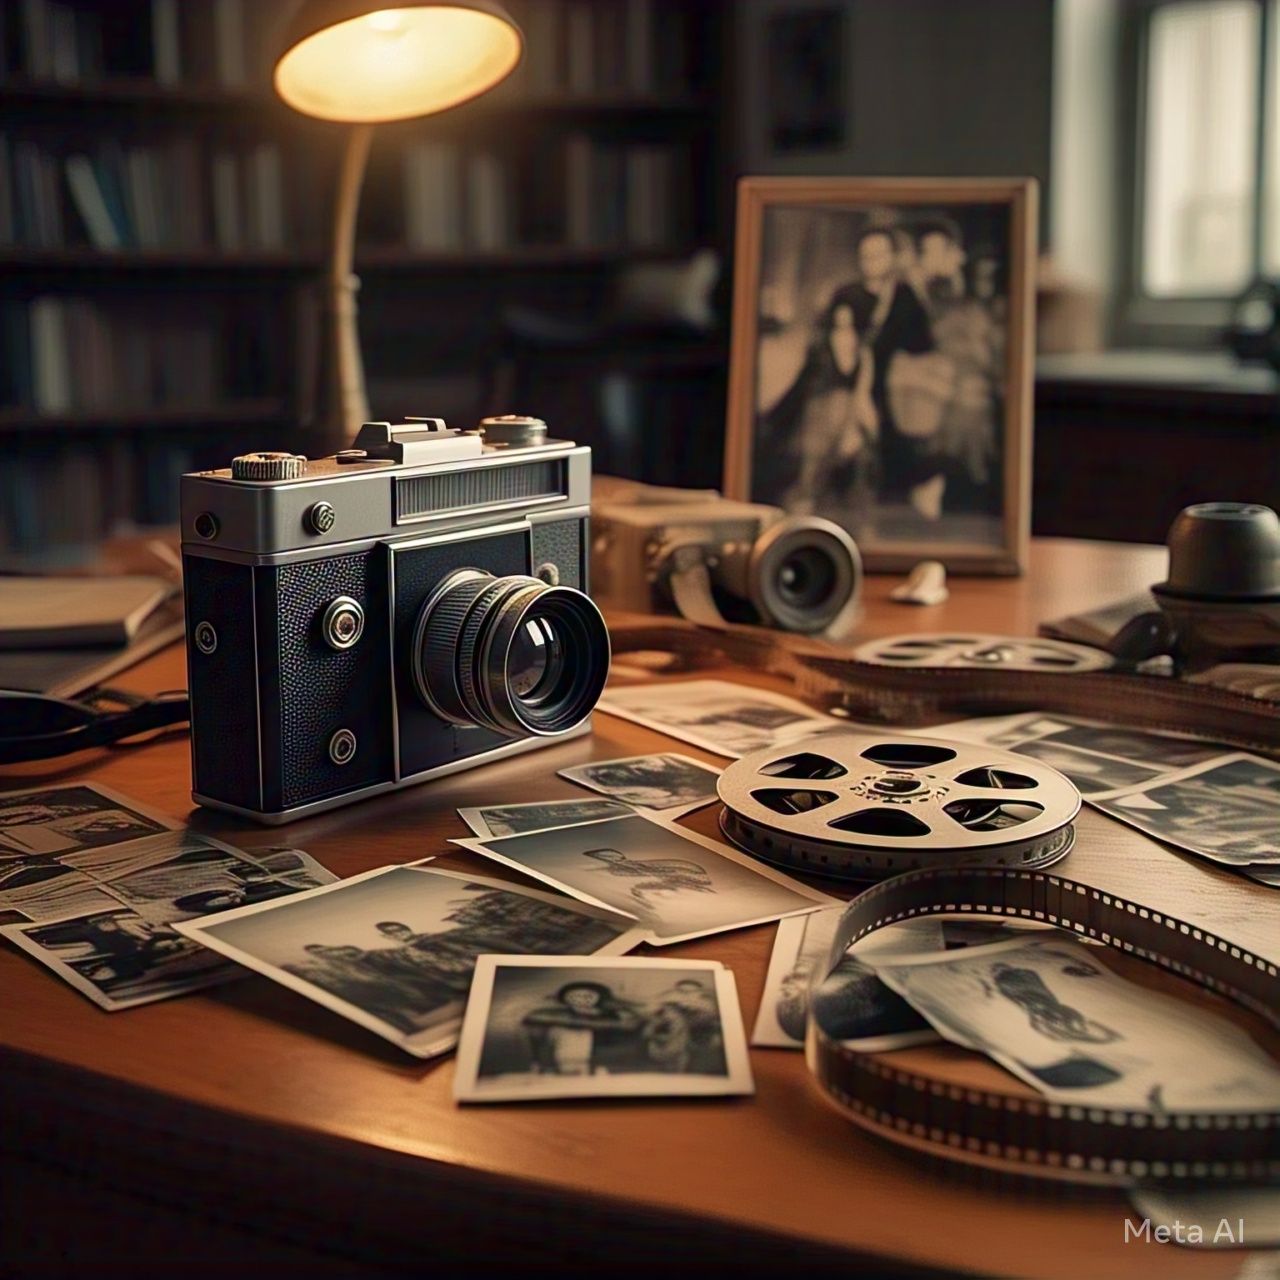
In the world of digital photography and image editing, hyper-realistic retouching has become an essential skill for photographers, graphic designers, and digital artists. Unlike traditional photo retouching, which often results in an overly airbrushed or artificial look, hyper-realistic retouching focuses on enhancing an image while maintaining a natural and lifelike appearance. This technique is widely used in fashion photography, commercial advertising, and portrait retouching to create visually stunning yet believable images.
In this article, we’ll explore the key concepts of hyper-realistic retouching, essential tools, step-by-step techniques, and best practices to achieve flawless yet natural-looking results.
Understanding Hyper-Realistic Retouching
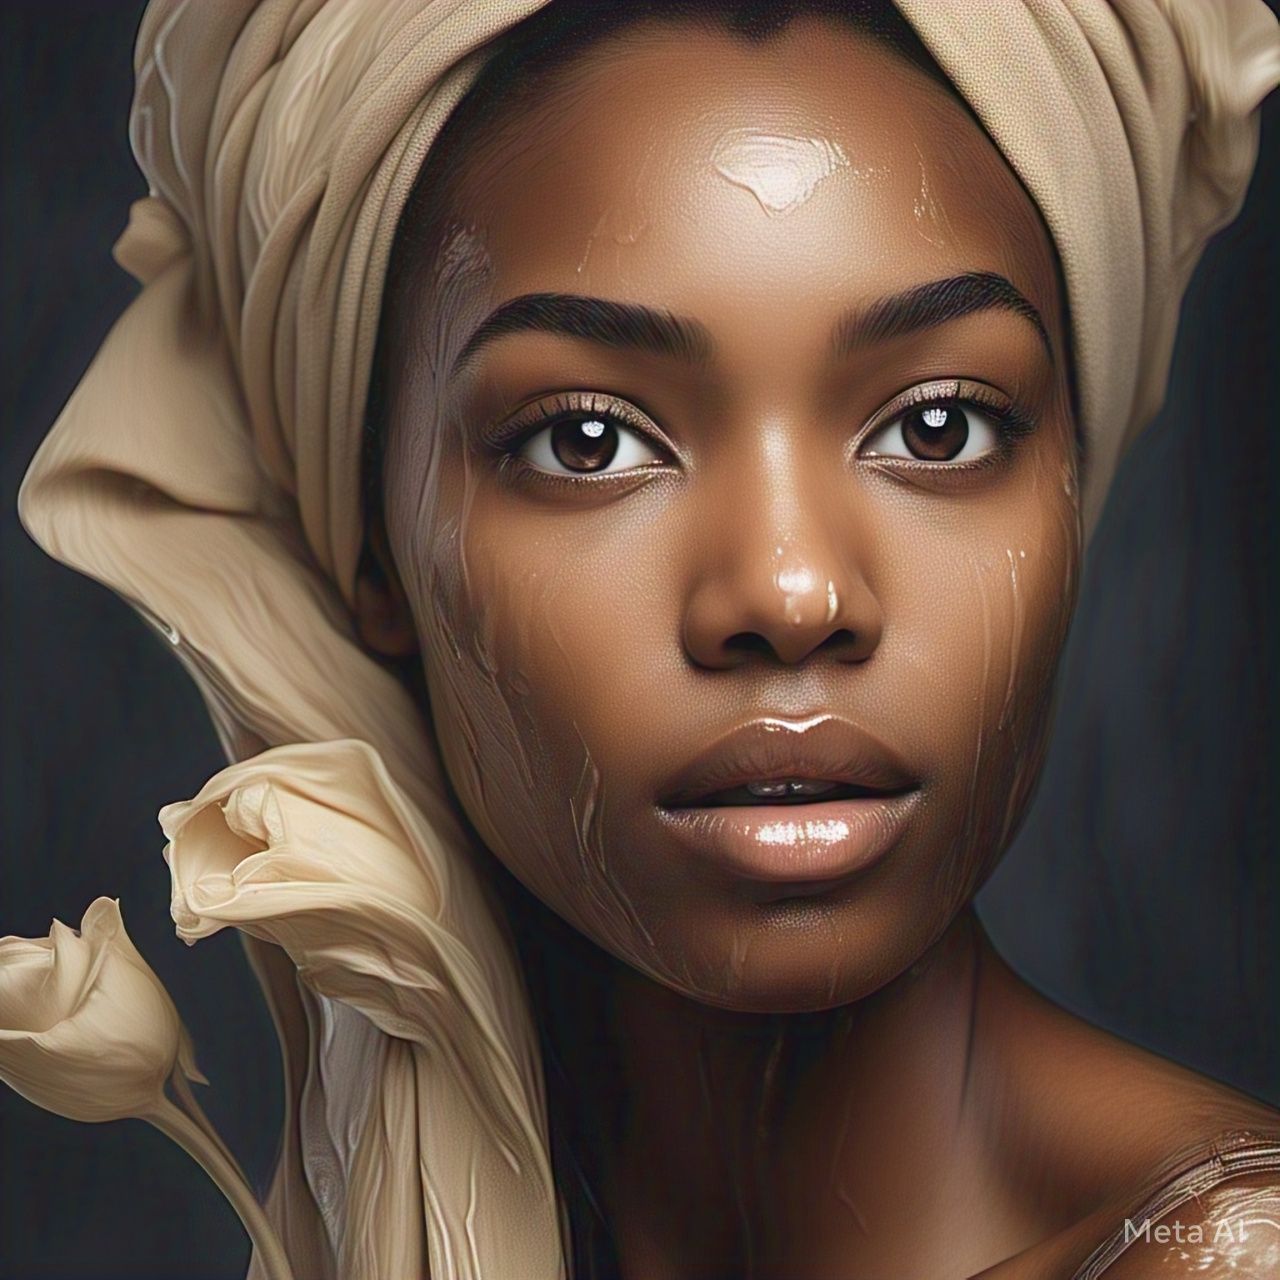
Hyper-realistic retouching is a high-end editing technique that refines an image without compromising the texture, depth, and details of the subject. The goal is to enhance beauty while preserving realism, making the final image look polished but not overly edited.
This approach requires meticulous attention to detail, as well as an understanding of skin texture, lighting, and color balance. Unlike quick-fix editing methods, hyper-realistic retouching is a time-consuming process that involves non-destructive editing to maintain the integrity of the original image.
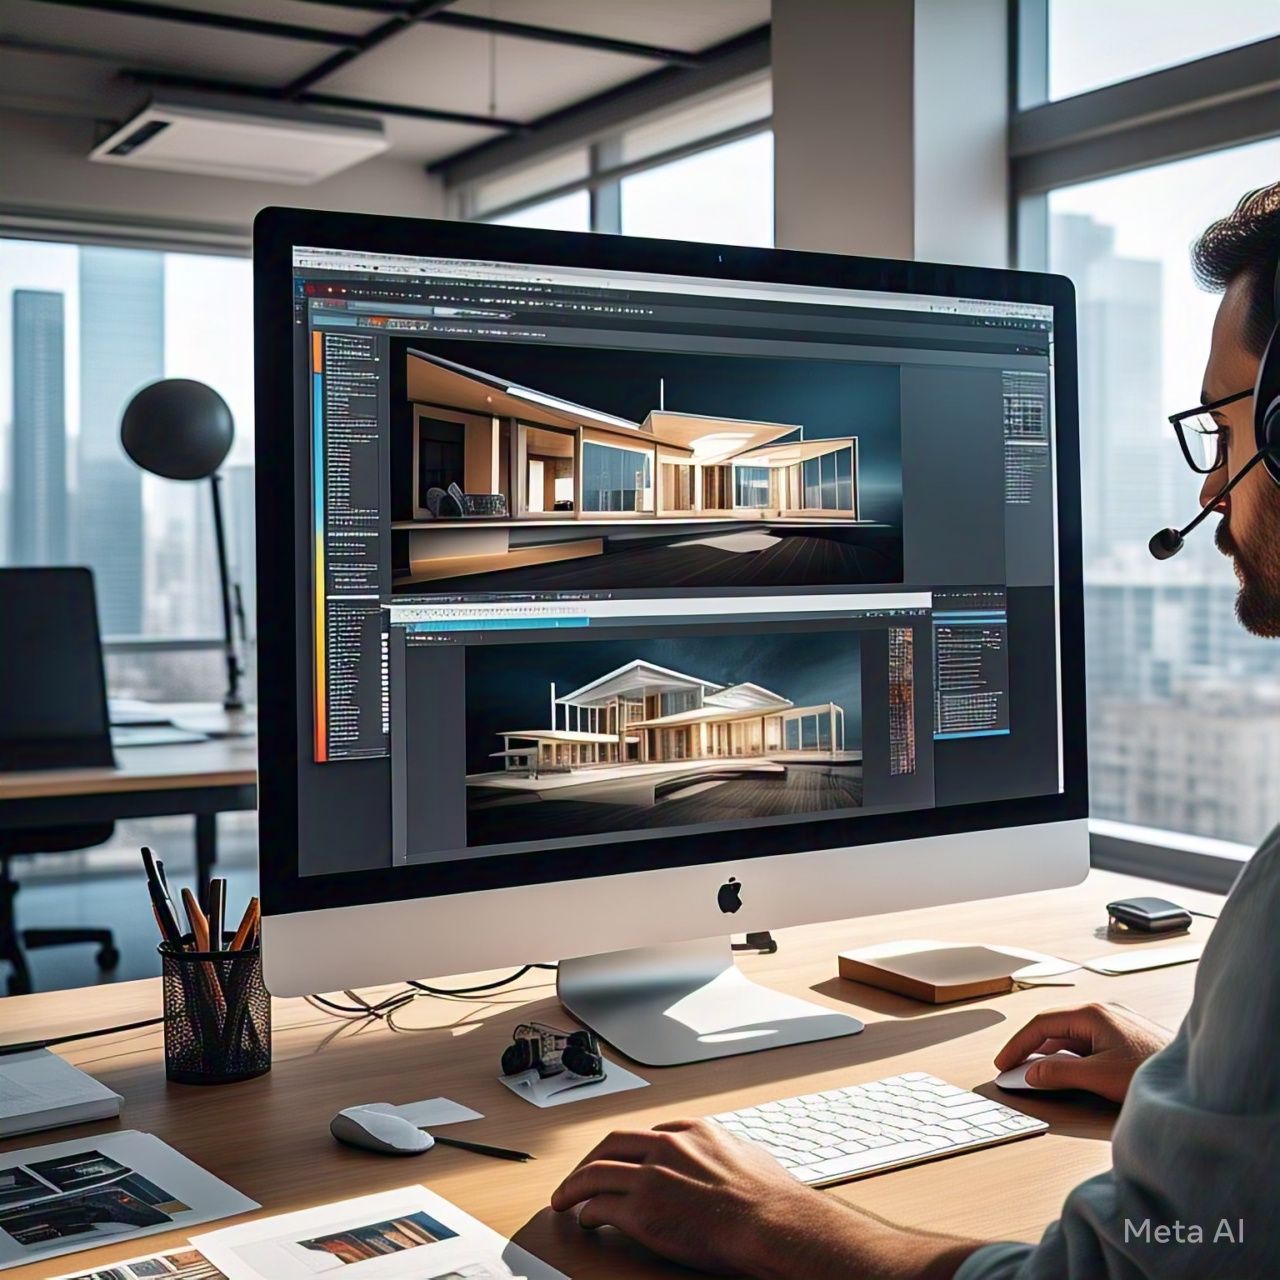
Essential Tools for Hyper-Realistic Retouching
Before diving into the techniques, let’s explore some of the essential tools used in Adobe Photoshop, the industry-standard software for professional retouching.
1. Frequency Separation
Frequency Separation is a powerful technique that allows you to separate skin texture from color and tone, enabling precise retouching without blurring or destroying fine details.
High-frequency layer: Contains fine details such as pores, wrinkles, and hair.
Low-frequency layer: Holds color, shading, and general skin tone.
This method ensures that skin retouching looks natural while keeping texture intact.
2. Dodge & Burn
Dodge & Burn is a technique used to enhance highlights and shadows, creating depth and dimension in an image. It helps correct uneven skin tone and refine facial features without removing natural textures.
Dodge (lightening tool): Used to brighten areas such as cheekbones, forehead, and the bridge of the nose.
Burn (darkening tool): Used to deepen shadows and add contour to facial features.
For best results, it’s recommended to use curves adjustment layers instead of the default Dodge & Burn tools in Photoshop.
3. Clone Stamp & Healing Brush
Clone Stamp Tool: Allows precise replication of textures from one area to another.
Healing Brush Tool: Blends pixels seamlessly to remove blemishes and imperfections.
Spot Healing Brush: Automatically corrects small blemishes and marks with AI-based blending.
These tools are crucial for removing scars, acne, stray hairs, and other distractions while preserving natural skin texture.
4. Liquify Tool
The Liquify tool is used for subtle reshaping, such as refining jawlines, slimming body parts, and adjusting facial features. However, it must be used sparingly to avoid unrealistic proportions.
5. Color Grading & Selective Color Adjustments
Adjusting color tones ensures a harmonious and balanced look. Using tools like:
- Selective Color for refining skin tones
- Color Balance for adjusting shadows, midtones, and highlights
- Gradient Maps for stylized color grading
Proper color grading enhances realism and mood, making the retouched image more visually appealing.

Step-by-Step Guide to Hyper-Realistic Retouching
Now that we have the tools covered, let’s go through the step-by-step process of achieving hyper-realistic retouching in Photoshop.
Step 1: Start with a High-Resolution Image
For high-end retouching, always work with RAW files or high-resolution images to retain maximum detail. Low-quality images limit the amount of fine retouching you can perform.
Step 2: Basic Cleanup with Healing & Clone Tools
Begin by removing blemishes, scars, or stray hairs using the Healing Brush or Clone Stamp Tool. Be careful not to overdo it—leave natural skin features like moles or light freckles to maintain authenticity.
Step 3: Apply Frequency Separation
Duplicate the original image twice.
Apply a Gaussian Blur (Radius: 5-10 pixels) to the first duplicate (low-frequency layer).
Use Apply Image on the second duplicate (high-frequency layer) with “Subtract” settings.
Set the high-frequency layer to Linear Light blending mode.
Retouch color on the low-frequency layer and refine texture on the high-frequency layer using the Clone Stamp Tool.
Step 4: Refine Skin Tone with Dodge & Burn
Create two Curves Adjustment Layers: one for Dodge (lighten) and one for Burn (darken).
Invert the layer masks (Ctrl + I) to hide adjustments.
Use a soft white brush (10-20% opacity) to apply subtle light and shadow corrections.
Focus on enhancing highlights on cheekbones, forehead, and nose bridge while deepening shadows around the jawline, temples, and under the cheekbones.
Step 5: Liquify for Subtle Face & Body Adjustments
- Open Filter → Liquify.
- Use the Forward Warp Tool to gently refine facial symmetry or body shape.
- Avoid excessive changes—keep proportions natural.
Step 6: Enhance Eyes, Lips, and Hair
Sharpen the eyes slightly using the Sharpen Tool or High-Pass Filter.
Add subtle highlights to lips and hair strands for extra dimension.
Enhance eyebrows and eyelashes with the Brush Tool at low opacity.
Step 7: Color Grading & Final Adjustments
- Use Selective Color to refine skin tones (reduce excessive reds or yellows).
- Apply a Gradient Map or LUT for a cinematic color effect.
- Use the Curves Adjustment Layer to fine-tune contrast.
- Check for oversaturation or unnatural tones and adjust accordingly.
- Step 8: Sharpen & Export
- Convert the final image into a smart object.
- Apply a High-Pass Filter (Radius: 1-2 pixels) and set it to Soft Light blending mode for subtle sharpening.
- Export the image in high-resolution format (TIFF or PNG) for professional use.
Best Practices for Hyper-Realistic Retouching
- Retouch Non-Destructively – Always use adjustment layers, masks, and smart objects to keep changes reversible.
- Avoid Over-Smoothing – Preserve natural pores and textures instead of over-blurring skin.
- Maintain Natural Features – Keep expressions, fine lines, and unique characteristics intact for realism.
- Use Subtle Adjustments – Small changes add up to create a polished yet natural effect.
- Compare Before & After – Regularly toggle the original image on and off to ensure edits remain realistic.
Conclusion
Hyper-realistic retouching is a fine balance between perfection and authenticity. By using frequency separation, dodge & burn, and careful texture preservation, you can create flawless yet natural-looking images. The key to success is subtlety—enhancing details without making the subject look artificial.
Mastering these techniques takes time and practice, but once perfected, they can elevate your portrait editing skills to a professional level. Whether you’re working in fashion photography, commercial retouching, or fine art, hyper-realistic retouching ensures stunning results that remain true to reality.
Now, grab your stylus and start refining your retouching skills—because real beauty lies in the details!


